Milkweed has a fascinating pollination mechanism that sets it apart from many other flowering plants! Milkweed flower clusters consist of multiple individual flowers that arise from the stems of a single branch.
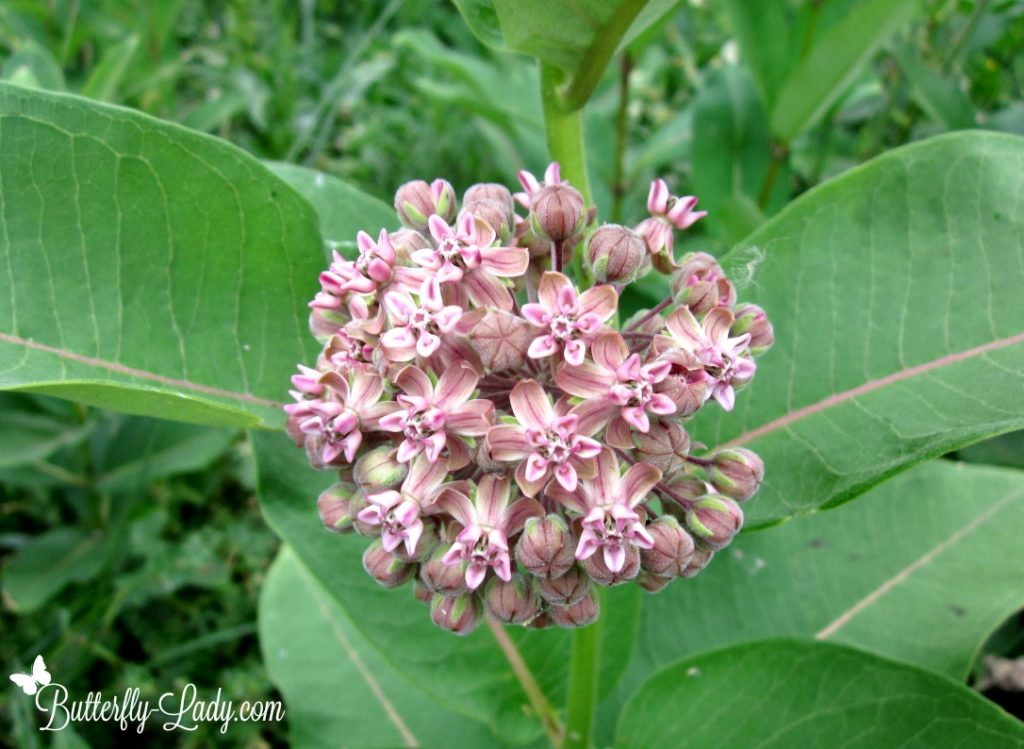
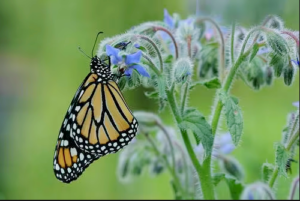
Each individual flower consists of five petals that are fused to form a distinct shape, often described as resembling a star or a crown known as the corona. The corona contains specialized structures called hoods and horns. The hoods hold the nectar that attracts bees and butterflies and other pollinators.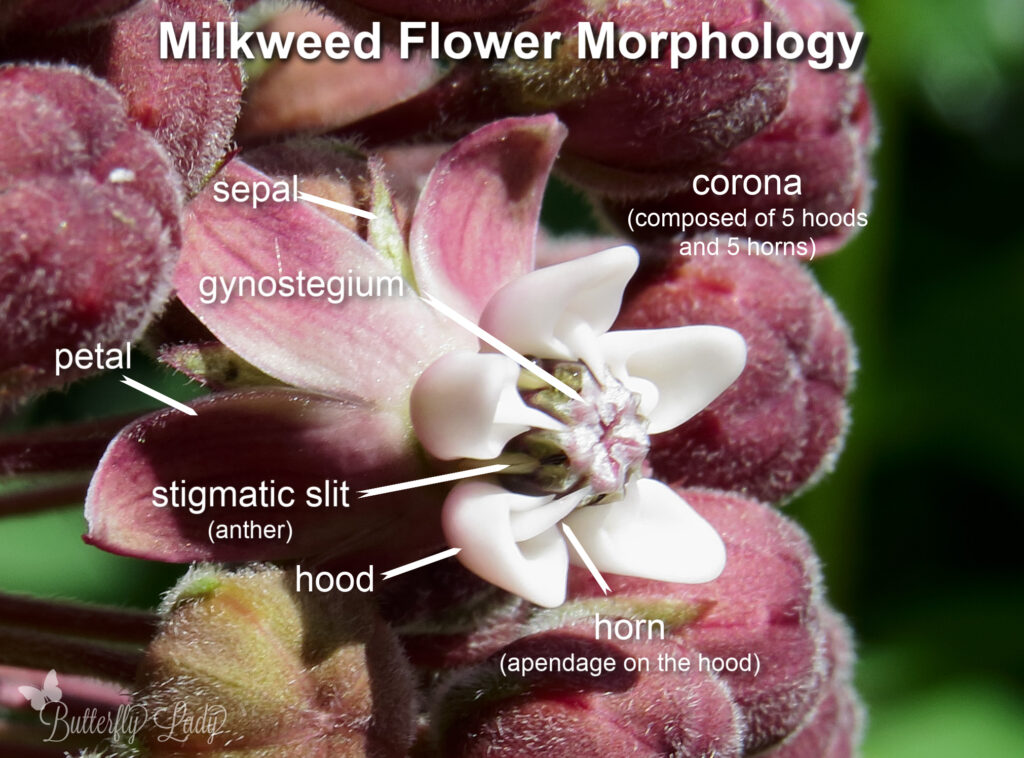
Enclosed within the corona is a structure called the gynostegium, or stigmatic chamber. This reproductive chamber has 5 vertical slits called stigmatic slits around its perimeter. These slits allow access to the female ovaries and male pollinia within it.
Instead of being loose grains, as is typical of most flowers, the pollen in milkweed is packaged within sticky structures called pollinia (singular: pollinium) which are masses of pollen grains that stick together and are located in the gynostegium.

When insects land on the hoods of the flowers to feed on nectar, their foot slips into the stigmatic slit. Inside the stigmatic slit, insects come in contact with the pollinia. The stigmatic slit essentially “captures” the insect’s leg or foot, ensuring effective pollen transfer.
For pollination to occur:
- An insect is attracted to the flower’s nectar and lands on one of the five hoods.
- The insect’s leg or appendage slips into the stigmatic slit (that acts like a trap door) between the hoods and touches the pollinia.
- The insect pulls its leg out, bringing the pollinia with it.

Male conopid fly, Physocephala furcillata, on common milkweed with pollinia on front leg. - The insect visits another milkweed flower and accidentally slides its leg into the slit again.
- The insect extracts its leg, dislodging the pollinia, which is then transferred to the flower and completes pollination.
While this method ensures cross-pollination, it can be risky for insects. If their legs get snagged on the filament holding the sticky pollinia sacs, they may become trapped. Smaller bees are especially vulnerable and can perish inside the flowers.
The milkweed’s unique pollination mechanism benefits the plant in several ways:
- Cross-Pollination: By requiring pollinators to visit multiple flowers, milkweed promotes cross-pollination. This genetic diversity enhances the plant’s chances of adapting to changing environmental conditions.
- Reduced Self-Pollination: The pollinia attachment system prevents self-pollination. This ensures that the plant receives pollen from a different individual, preventing inbreeding and maintaining genetic diversity.
- Nectar Reward: Milkweed produces nectar as a reward for pollinators. In exchange for nectar, pollinators inadvertently transfer pollen between flowers, aiding in fertilization.
- Seed Production: Successful pollination leads to seed production. Milkweed seeds are equipped with silky hairs that allow them to disperse easily in the wind, increasing the plant’s chances of colonizing new areas.
Overall, this intricate pollination mechanism ensures milkweed’s survival and contributes to the health of its ecosystem.

Resources:
http://www.microscopy-uk.org.uk/mag/artfeb05/bjmilkweed.html
https://www.natureinstitute.org/article/craig-holdrege/the-story-of-an-organism-common-milkweed
Recommended Books for Further Reading