Most native milkweed seeds and many native flower seeds need cold moist stratification to germinate successfully. After the recommended days of cold moist stratification are done, you can direct sow the seeds outside in the spring after the last frost under a very light amount of soil or you can start them in containers with soil.
Below are ten steps to starting seeds indoor (or outdoors) in containers.
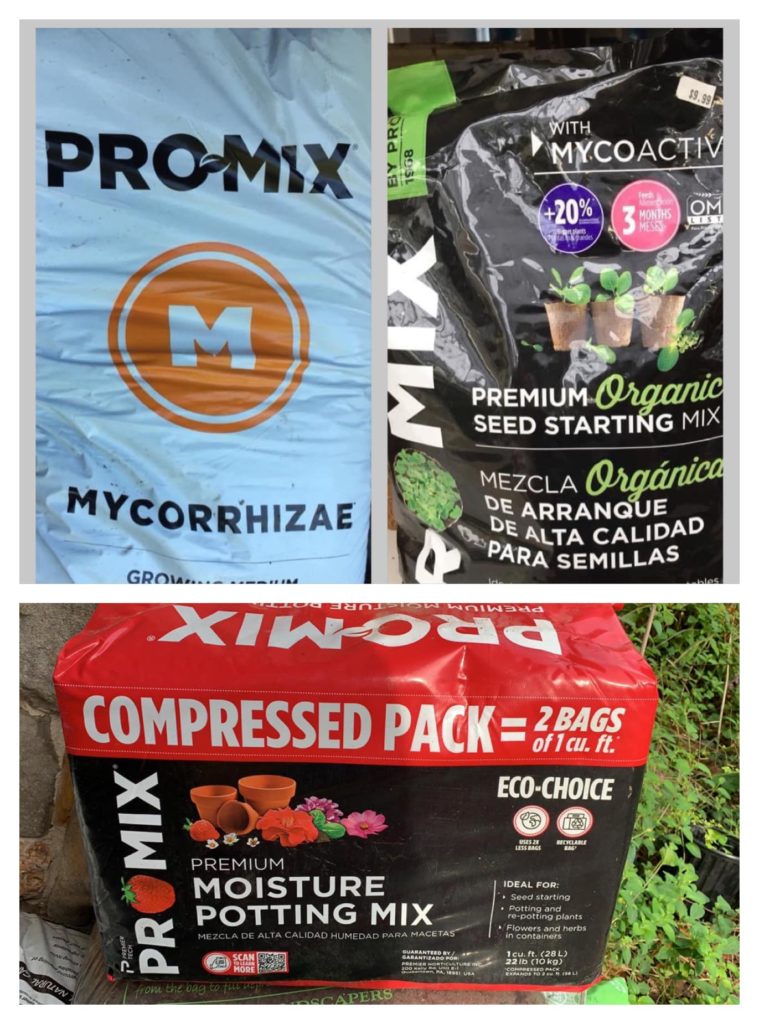
Step 1: Prepare the Seed-starting Soil Mix
You need a seed starting mix for germinating seeds in containers. It’s possible to make your own seed starting mix or purchase a commercially prepared seed soil mix. The soil should be sterile to decrease the risk of bacteria interrupting your germinating rates. I recommend using a soil mix that contains mycorrhizae which helps the roots absorb nutrients and helps prevent fungus.
Step 2: Dampen Seed Mix and Plant the Seeds
Put the soil mix into a bucket and put water into it and mix it well. You do not want it to be too wet but wet enough to keep seeds moist. I recommend pots, cups, or containers that are at least 4 inches deep to accommodate root growth. You can also purchase seed trays. Sow the seeds by scattering them on the soil surface 1/4 inch apart, and then lightly cover with additional soil mix, coconut coir, or peat moss. Gently mist the surface with water to dampen the additional soil mix that has been added.

Step 3: Cover for Humidity
Covering the seeds will protect them, maintain moisture levels, and create the perfect environment for those seeds to get a great start. Covering the seeds increases the humidity, which is essential for high germination rates. Cover the pots with clear plastic wrap or a plastic dome that fits over the seed-starting tray. This creates a greenhouse effect and speeds germination. I make my own seed tray by using the aluminum baking trays with plastic covers that I purchase at the dollar stores.

Step 4: Keep the Seeds Warm
Once temperatures reach over 75 degrees Fahrenheit (24 degrees Celsius) outdoors the germination process will begin. For indoor growing the temperature should be kept around 75-80 degrees F (24-27 degrees C) for optimal growth. If starting the seeds inside place the containers near a window. You can use grow lights to keep the seeds warm, and some gardeners prefer to use heat mats especially designed for seed trays.

Step 5: Keep Soil Moist.
After you dampen the seed starting mix when planting the seeds, use a spray bottle or misting hose to keep the soil evenly moistened. Most seeds fail to germinate because the seeds are allowed to dry out.
Step 6: Uncover the Seedlings Once They Germinate
Seeds will typically germinate in 7-20 days. Once they germinate you can remove the cover. It’s very important to uncover the seedlings and expose them to light once they germinate, otherwise they will rapidly become straggly, with overly long, thin stems.

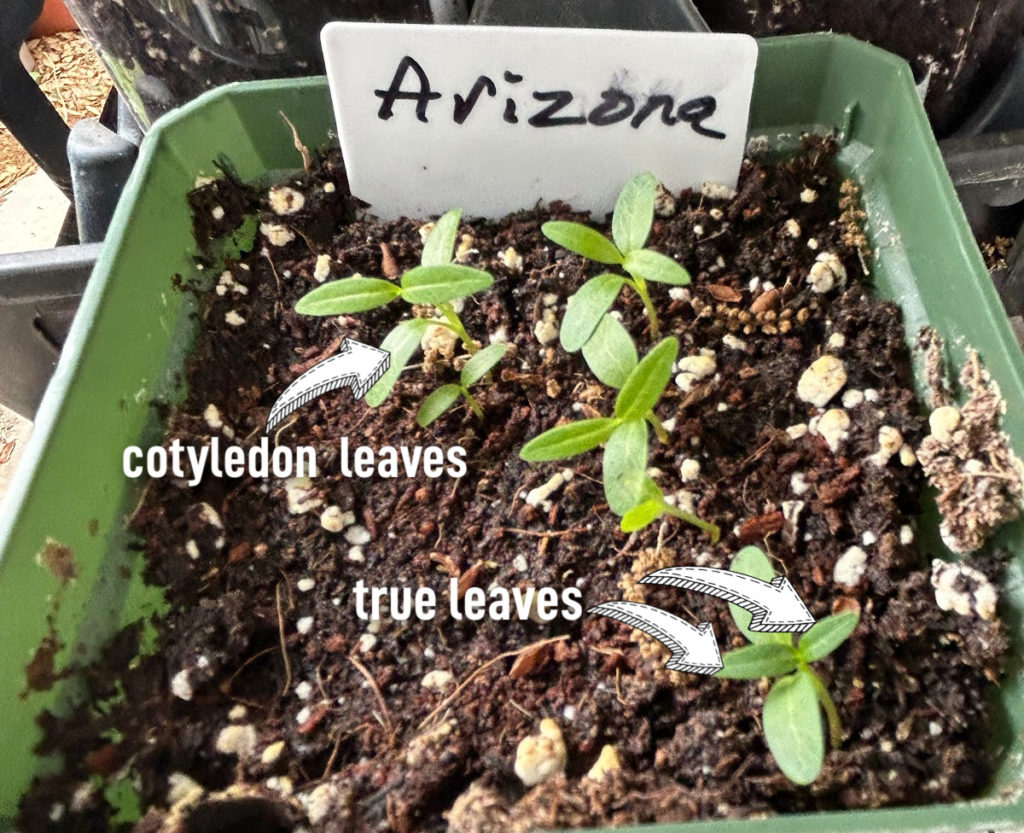
Step 7: Transplant the Seedlings to Individual Pots
Once seedlings have grown a few pairs of “true leaves” and are big enough to handle without damage, they can be transplanted into larger individual pots with potting soil. Be sure to fill the cups almost to the top to give the roots plenty of room to grow.
Step 8: Keep Transplanted Seedlings Out of Direct Sunlight While They Establish Roots
If seedlings are placed outside, keep them out of direct sunlight (but not in a dark or overly shaded spot) for a week until the roots grow into the new soil and have a better chance of absorbing moisture. In dull, overcast weather, you don’t need to do this.

Step 9: Harden Off Seedings
If plants have been grown inside need to be “hardened off” or slowly acclimated to the outdoors over a period of about seven to 10 days. Gradually introduce them to direct sunlight, dry air, and cold nights so that they don’t suffer shock from the sudden change in growing conditions.
Step 10: Plant Young Plants
Once plants have reached the stage where their roots are starting to emerge from the bottom of the pot, they can be planted out to their final location in your garden.

Diagnosing Seedling Problems
Leggy seedlings are the result of insufficient light after germination.
Solution: Move seedlings grown indoors as close as possible to a window as soon as they sprout.
Seedlings that are shriveled or toppled over is seen in cold, wet conditions that cause a damping off disease. Pathogens kill or weaken seeds pre-germination (or shortly afterwards).
Solution: Try to provide adequate light, heat and ventilation and avoid overwatering.
